Here is something that you can make at home. Just print out the image on heavy paper and cut along the lines. The deer circle fits inside the larger circle. Enjoy
Monday, December 12, 2011
Saturday, September 17, 2011
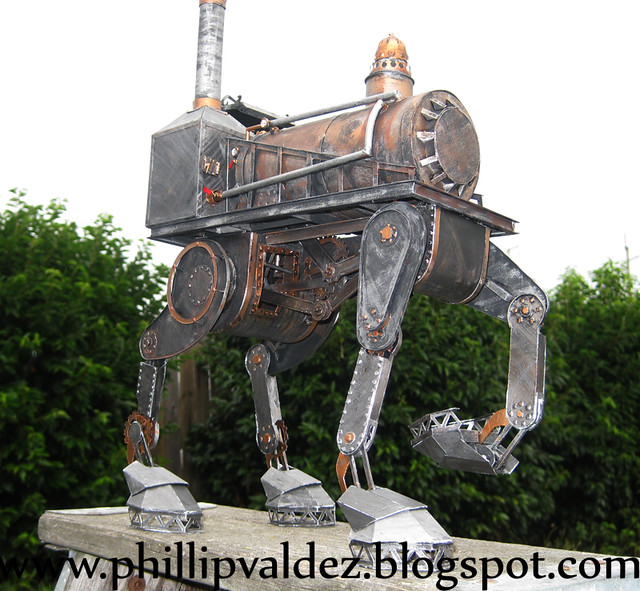
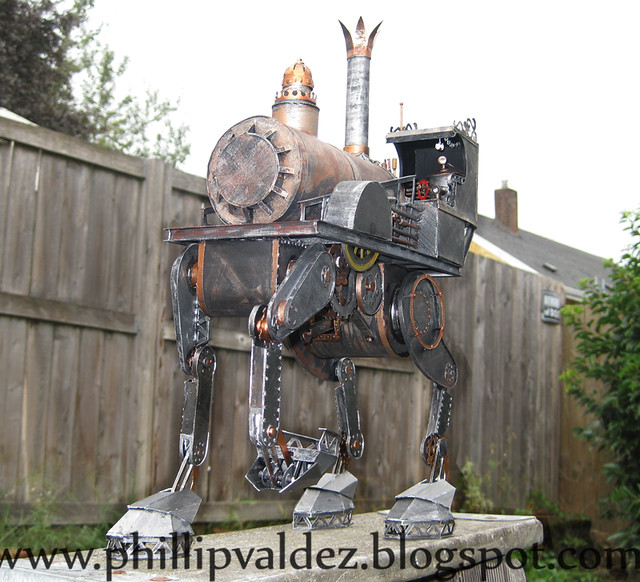
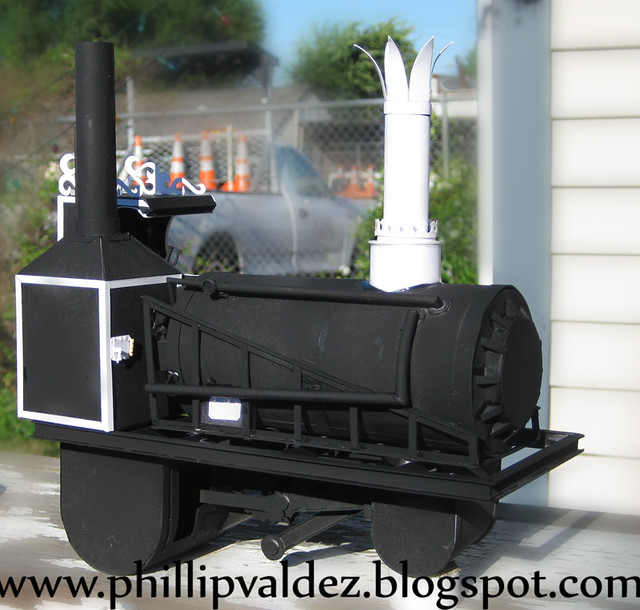
Victorian Steampunk Iron Horse
Here is the consumer version of my Iron Horse-my 4 legged steam punk walker. I still need to add a Howitzer and possibly a Gatling Gun (and do the detail work on the carriage). I envision this for large farms where the workers drag several tilling machines behind. The Royal army would use this to get a higher vantage point and maneuver the large cannons into a better position.
Stay tuned to see the Military version
Wednesday, August 31, 2011
Saturday, August 27, 2011
More Pics on the Victorian Walker
Here is the next step to my Victorian Walker. I am so excited to have the 2 standing side by side. I haven't figured out how the guns should be, but I will jump off that bridge when I get there.
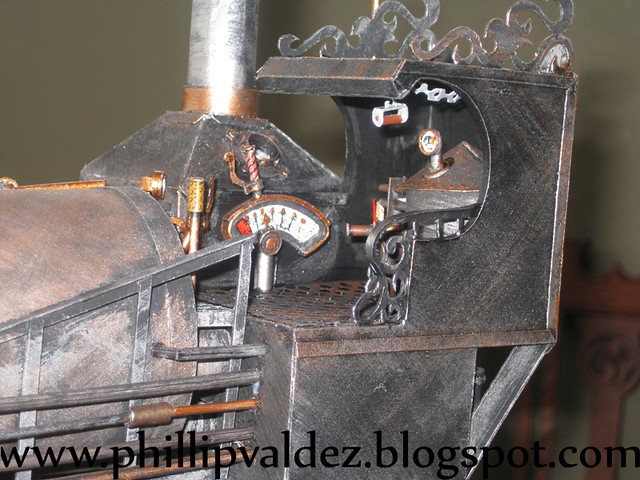
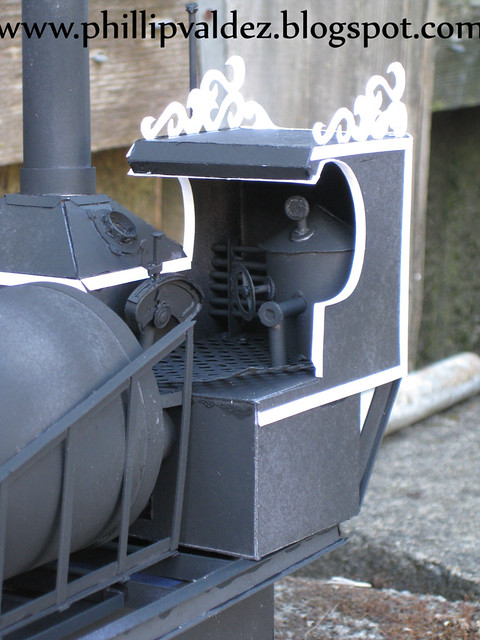
And the detail of the interior of the carriage. I modeled this off of an old 1880 delivery horse drawn carriage. I still have some iron work to add, but it's coming along nicely.
Monday, August 15, 2011
FINALLY.... Got off the couch and did something.
After a stint of the blues for a less than stellar experience with a client back in February.....I finally got started with a couple of projects that I could sink my teeth into. I created a skull mask for Elisa-which I will post in the coming days. A new Steampunk Mech that I am working on as well as an art trade with Stefan Bucher (creater of DailyMonster.com). Right now is the beginnings of my Steampunk mech-I dont know if it will also be a two-legged chicken walker or a full fledged 4 legged machine like the AT-AT. Here are three pics that show you where I am at.
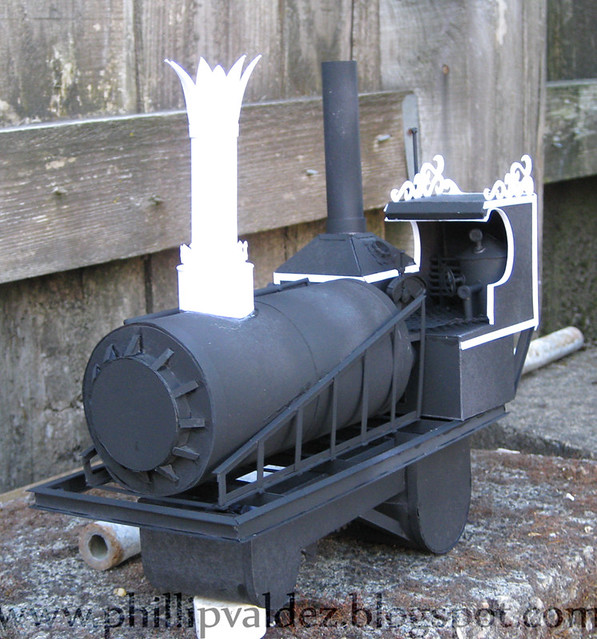
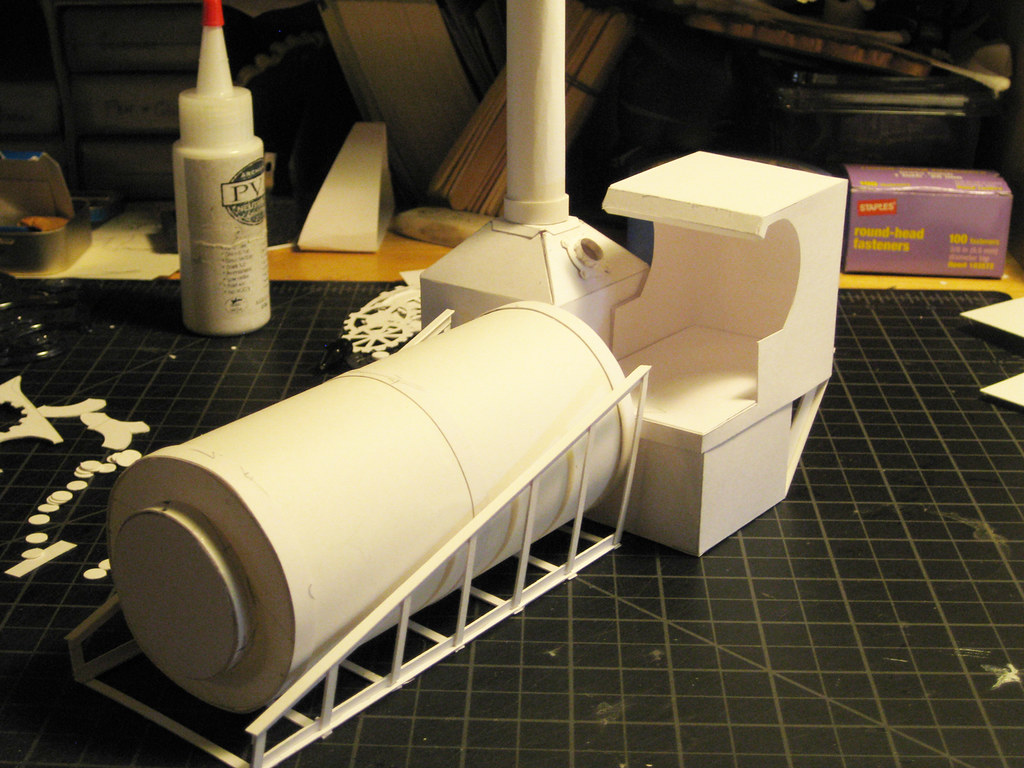
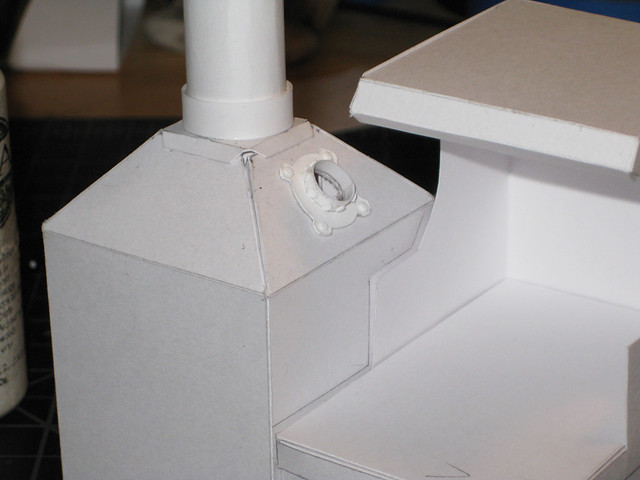
This is the configuration of the main body.
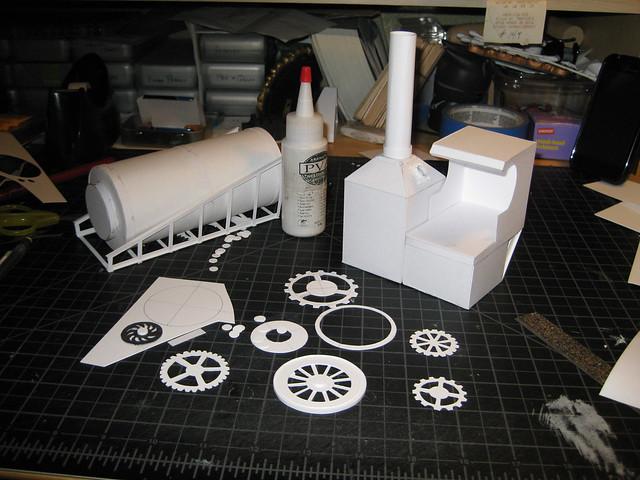
Here are the parts-based off of an old Best Steam Tractor and a horse drawn carriage.
Detail of the carriage area
I am working on the leg mechanism as well as the chassis.
This is the configuration of the main body.
Here are the parts-based off of an old Best Steam Tractor and a horse drawn carriage.
Detail of the carriage area
I am working on the leg mechanism as well as the chassis.
Saturday, April 2, 2011
Finally finished all my projects
I had three back to back projects and finally finished them (the Charger being the first). Here are pics of the 2nd.
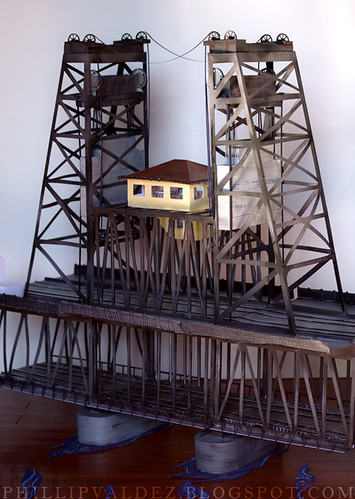
The Portland Paper project was a show showcasing paper artists in Portland creating Portland Landmarks. Here is my Steel Bridge.
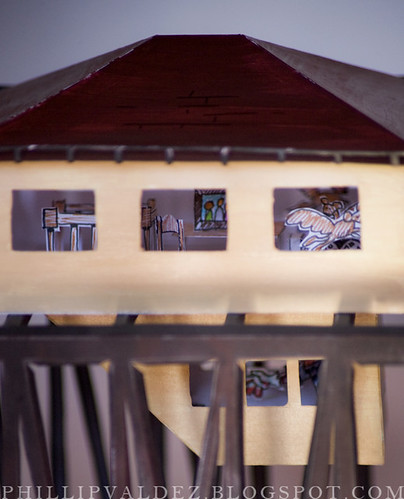
Here is a detail of what I think is in the control house-Zombies and Squirrels (the zombie is in the subroom-you can see the hand....kind of)
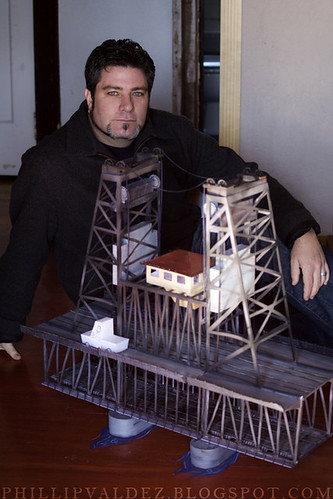
And finally the scale of how big it is
Labels:
bridge,
cut paper,
paper,
paper craft,
paper masks,
paper sculpture,
pop-up,
portland,
steel bridge
Saturday, February 12, 2011
No Rest for the Wicked-
I finally finished the "Crashed Charger" project and am now creating a comp for a Fashion Show (that will be shot Sunday-I hope) as well as a "Landmarks of Portland" show (which is due on the 17th). BUT the car is done.
Here are the pics:
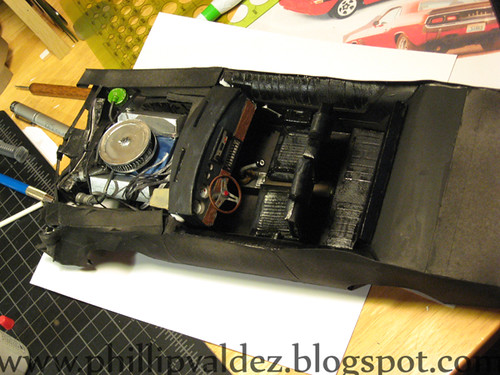
Car with the interior placed in and completed engine compartment.I tried to add some great details-like the Magic8Ball gear shift, radio knobs and speedometer and things. I will have those pics later.
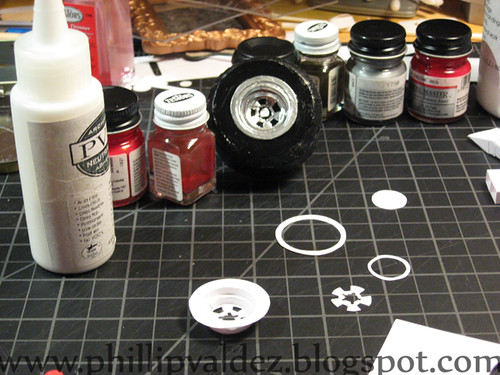
Here are the wheels. I had to experiment to see what technique was needed to keep the paper chrome. This will be used later for my Fashion Masks (David-you're gonna flip!)
White primer to catch the red-plus put on the hood.
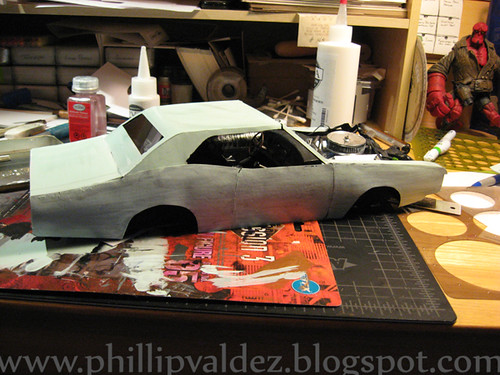
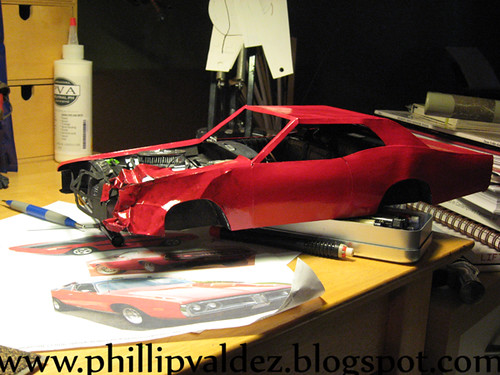
Drying car after the 2nd coat.
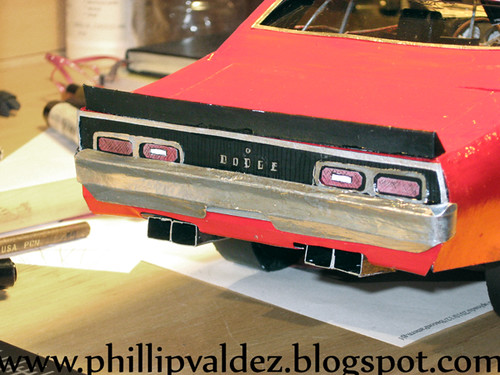
Detail of back end. Tried to cut out letters-but failed. Finally painted them in and outlined them in black photo marker.
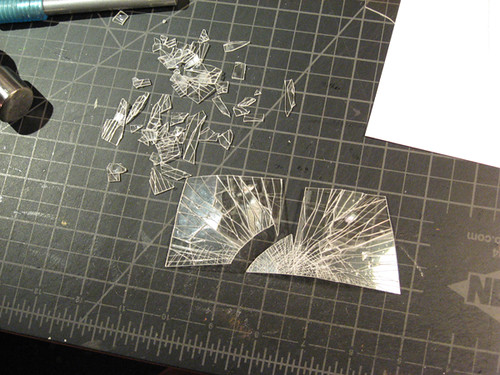
Busted windshield for the front of the car. This is the only thing NOT out of paper.
Final car. Added silver crinkled highlight to simulate metal under the red as well as scratches. Client was ecstatic!
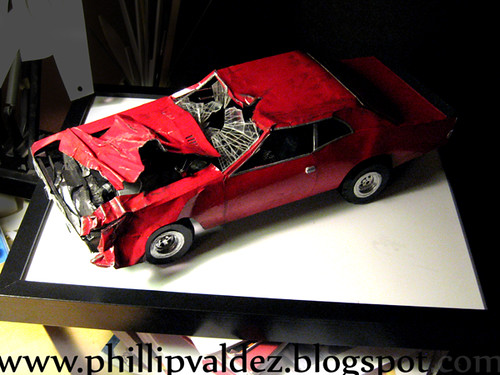
Elisa took detailed pics that I will also post later. Time for some coffee and back up to the cutting board.
Labels:
charger,
customizaton,
cut paper,
dodge charger,
paper,
paper craft,
paper sculpture,
portland
Sunday, January 16, 2011
Sunday, January 9, 2011
'71 Charger Project
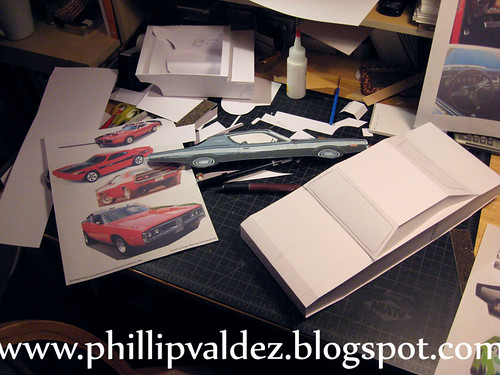
Middle of a new project where I have to create a scene from a novel. Here is the mock up of the Charger in the scale that I think I will need.
Actually-I miscalculated and have to take off an inch in the middle (not so fat)since I already created the cab interior. Fun times.
Labels:
1971,
1972,
charger,
cut paper,
dodge,
dodge charger,
paper,
paper craft,
paper masks,
paper sculpture,
portland
Getting started in 2011
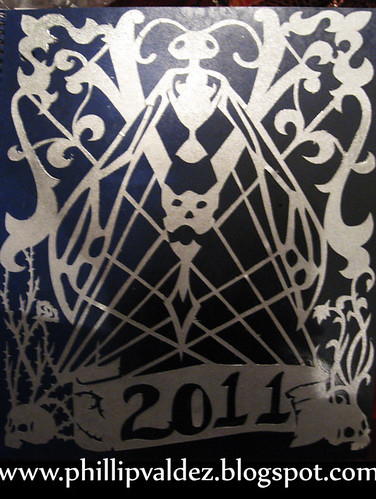
So-with the holidays finally over I can start anew. My first completed project is a small one. I cut a large sticker and place it on my work notebook. Last year I just drew on the cover-this year I did something more. It's not much-but it's a start.
Labels:
cut paper,
paper,
paper craft,
paper sculpture,
portland,
victorian,
wasp
Subscribe to:
Posts (Atom)